
How To Integrate ManyChat with Mailchimp
One of the secrets of Facebook Messenger bot marketing is that it is a great platform for capturing additional user data, like emails addresses, phone number or whatever else you need to grow your business. (In fact, here’s a case study on how we use Facebook Messenger to grow the email list and drive organic traffic for a publisher.)
Keeping all the action inside of Messenger creates the seamless user experience no matter where the data ultimately ends up. With the Zapier and ManyChat integration, we can collect emails from users and import all of the information to Mailchimp. (Or whatever email marketing platform you use.) This can all be accomplished without them ever having to leave Messenger or visit a landing page. The user would just enter their email address inside of Messenger and you now have a lead.
This article will show you step-by-step of how to set that up inside ManyChat, Zapier and Mailchimp. Those of you who use other email marketing providers should find it just as helpful.
What you need to get started:
- A Zapier account
- A ManyChat Pro account
- An Email Marketing Platform (for this demonstration, we’ll use Mailchimp)
If you haven’t yet upgraded your ManyChat account to the Pro version, do so first.
- Go to “Settings”
- Click on “Billings”
- Upgrade to Pro
Next, we’ll want to create a message flow so we can begin building the email input feature in ManyChat and “Zap” that information over to Mailchimp.
Inside ManyChat:
- Click on Flows (located on the left)
- Click on “New Flows” (located at the top right)
- Give your Flow a name (you’ll be able to find and access this in the Flows section)
You’ll then be brought over to the editing section of your newly created flow.
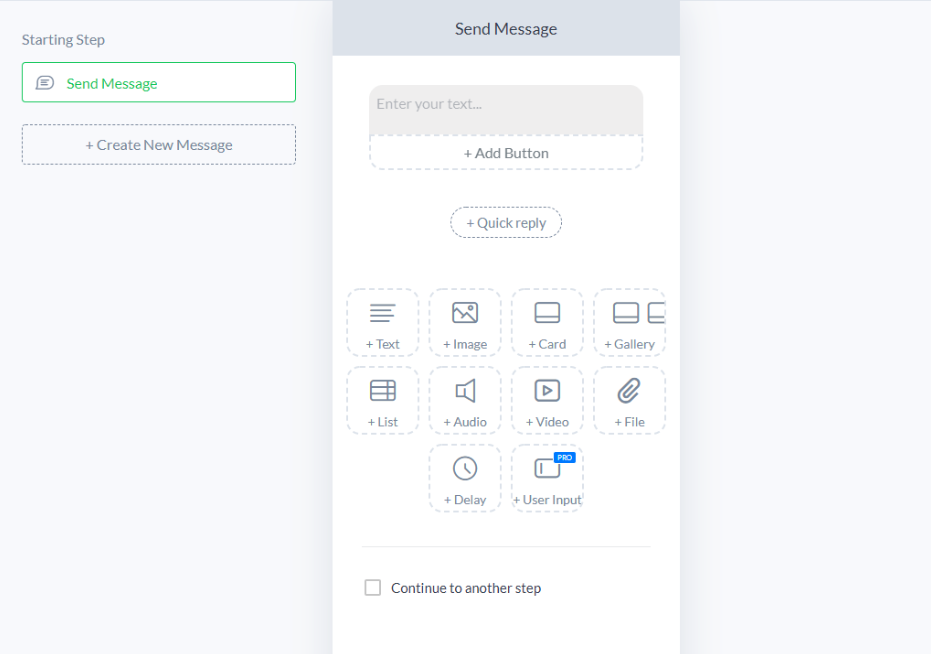
From here, we want to click the User Input feature located at the bottom. This is what’s going to allow the user to enter their email and trigger the Zap to send this information over to Mailchimp.
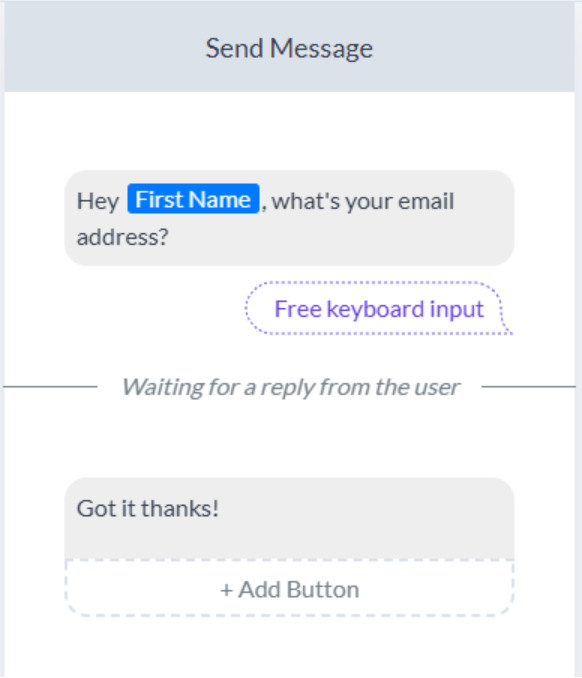
Add your text in the message box telling the user to enter their email address. You can insert the user First Name and emojis to make the message more personalized.
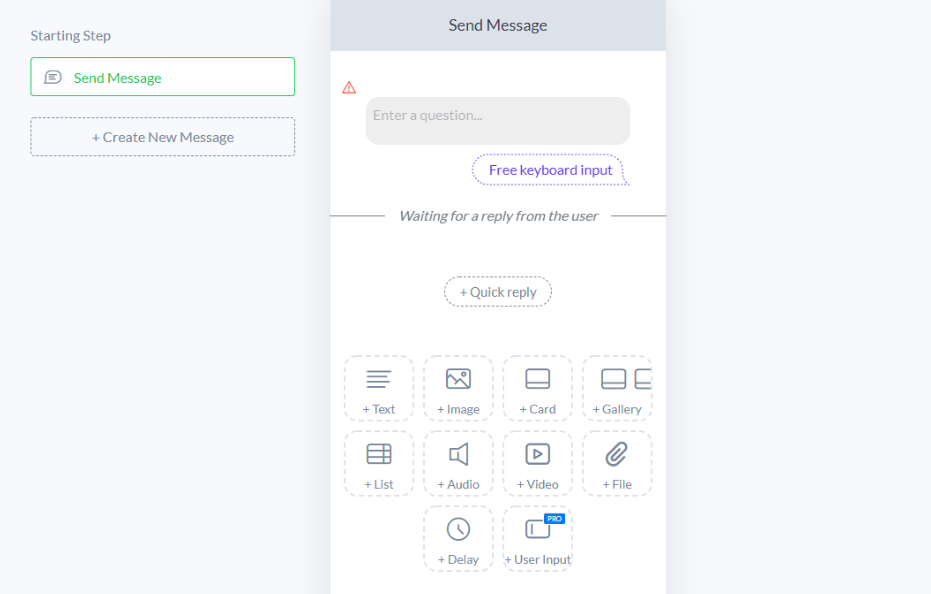
You’ll then want to click “Free keyboard input”. This will popup a box for you to edit the user input.
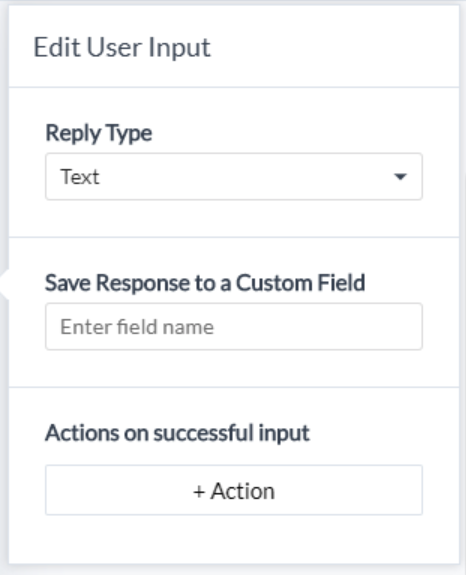
Here are the settings you want to set up when editing the User Input:
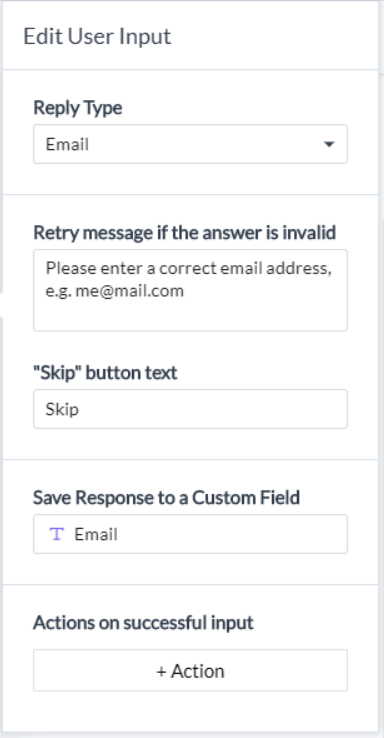
- Under “Reply Type” select email. This requires the input to be in email format. If the user puts anything else besides an email, ManyChat will detect the answer as invalid and will send a “Retry” message to inform the user to enter a correct email address. You have the option to edit this text if you wish.
- You can also let users skip having to enter their email. To do that, they would type the word “Skip” (default). You can change the text if you want as well.
- Then you want to have the user’s email saved to a custom field. This is where information that the user enters gets saved. So in this case, we’re going to create a custom field called “Email” where any emails that ManyChat collects will be saved under this category. This is where we’re going to tell Zapier to access all email information and transfer them over to the email platform later on.
Those are all the requirements to setup a user input with their email information. You can continue to add more messages to this flow if you want.
Once you have your flow completed, you’ll want to preview it to make sure everything is setup correctly. So click on “Publish” and then preview the flow. Both buttons are located at the top right.
You’ll immediately get this flow sent to your Facebook Messenger. Go through the flow inside your Messenger and enter your email address. Do not skip this step. Zapier requires at least one email input inside of ManyChat in order to have any data transferred over to your email marketing platform.
Once you’ve completed the preview where you entered your email, go back to that flow (click “Flows” and find the flow that you created) and on the right side, you should see a purple “Response” button. When you click on that button, it should open up a section where you can see all the users and and their emails that went through the flow.

That’s everything on the ManyChat side of things. You can set this all up in a Growth Tool, Broadcast, Sequence, or any other ManyChat automation feature.
Next, we’re going to shift over to Zapier.
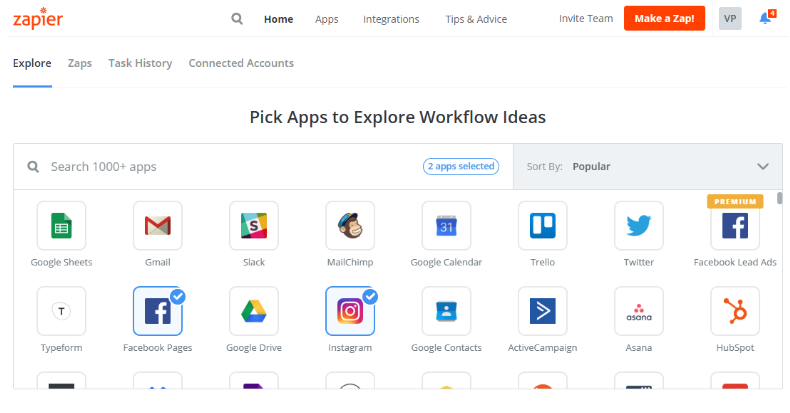
After you login to your Zapier account, click the “Make a Zap” button.
Do a search for ManyChat.
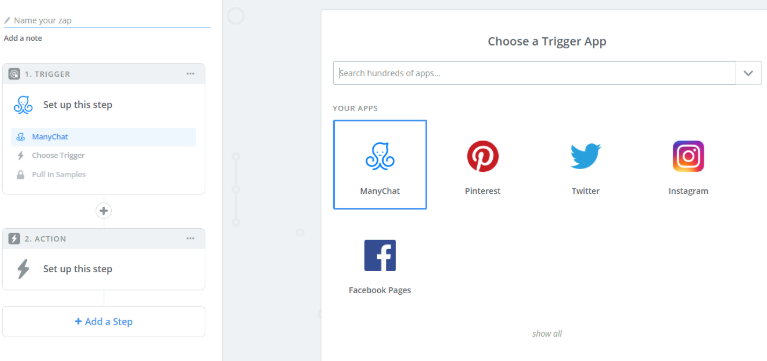
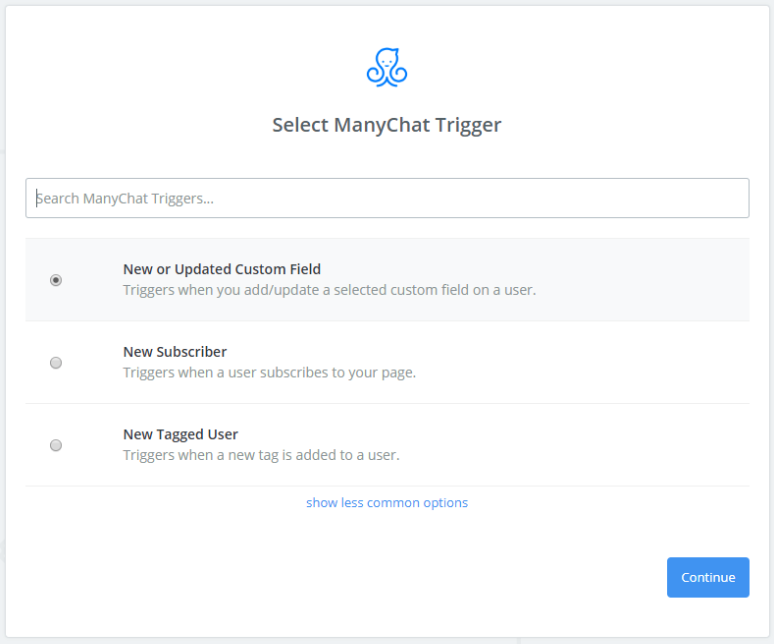
Then you want to set the trigger as “New or Updated Custom Field.” This is when the user enters their email address in Messenger and gets saved in the Email Custom Field, a Zap will be initiated. Click “Continue.”
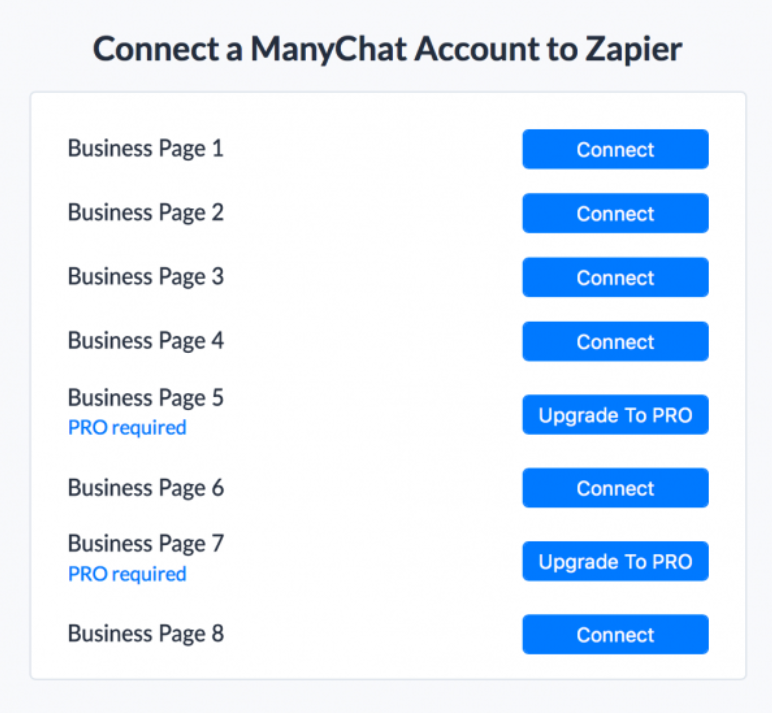
Next, connect your account by clicking “Connect an Account”. A new window will pop up where you’ll be able to see all of your ManyChat accounts.

Select the account you wish to use and click “Connect”. If your account hasn’t been upgraded to the Pro version, the button will appear as “Upgrade to PRO.”
After connecting your account to Zapier, test the connection with the “Test” button to ensure that your account has been successfully synced.
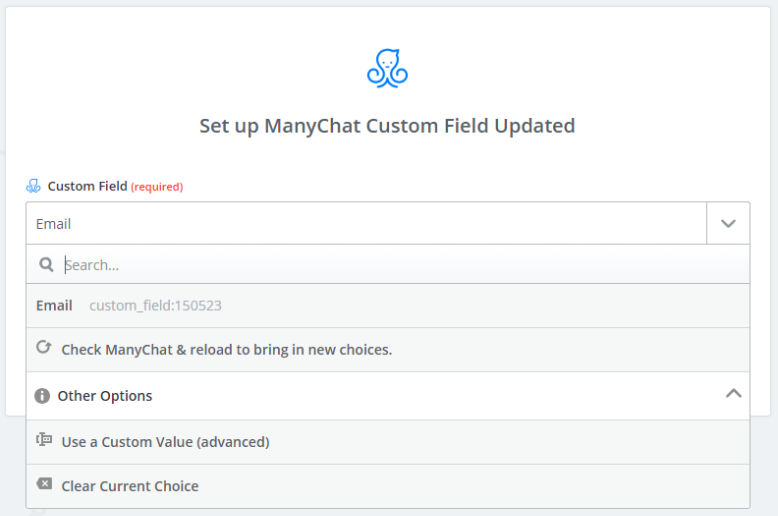
Next, Zapier will ask which Custom Field information we want it to receive from ManyChat. Since we created the Custom Field titled “Email,” that’s the one we’re going to select. Click “Continue.”
Note: The Custom Field you created in ManyChat may not always appear in Zapier. If that’s the case, you’ll need to click “Refresh Fields” in order for it to populate.
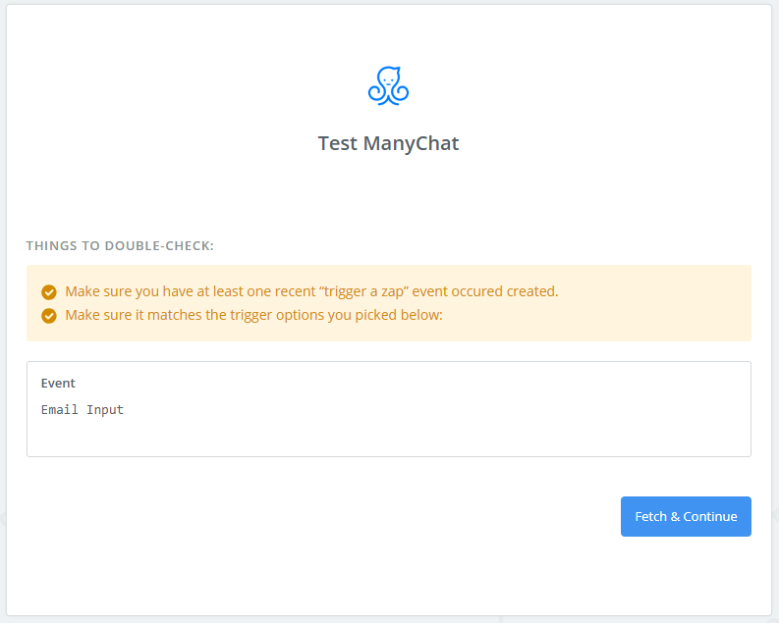
Click “Fetch & Continue” and Zapier will test that the Custom Field we created inside of ManyChat is updated. This requires that you have previously ran a preview of the Message flow and entered your email. If you haven’t completed this step yet, the test will fail and you won’t be able to move on until you go through the flow.
After the test is successful, click “Continue.”
Now, we’re going to connect your Mailchimp account to Zapier and complete the integration.
- Search for and select Mailchimp
- Select Add/Update Subscriber
- Click “Save + Continue”
- Click “Connect an Account”
- Login to your Mailchimp account and “Continue”
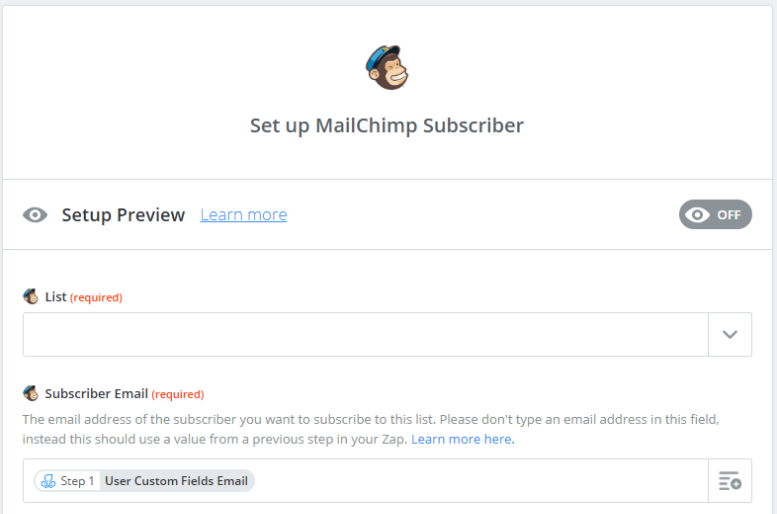
From here, the only required information needed is the List in Mailchimp and the Subscriber Email from ManyChat.
- Under “List” select the list in Mailchimp that you want emails to be sent over to.
- Under “Subscriber Email,” select User Custom Fields Email that we created in ManyChat that stores all of the user emails.
Click “Continue” and then “Send Test To Mailchimp.”
If all is working correctly, then you have successfully completed the integration and can start collecting emails from ManyChat to Mailchimp.